
How to Prevent and Fix Condensation in Your Dryer
Condensation buildup is a common problem in clothes dryers that can lead to mold, mildew, and rust over time. While some condensation is normal, excessive moisture inside your dryer indicates an issue with ventilation that needs to be addressed. In this comprehensive guide, we’ll cover the causes of dryer condensation, solutions for preventing it, and steps for removing moisture when it does occur.
What Causes Condensation in a Dryer?
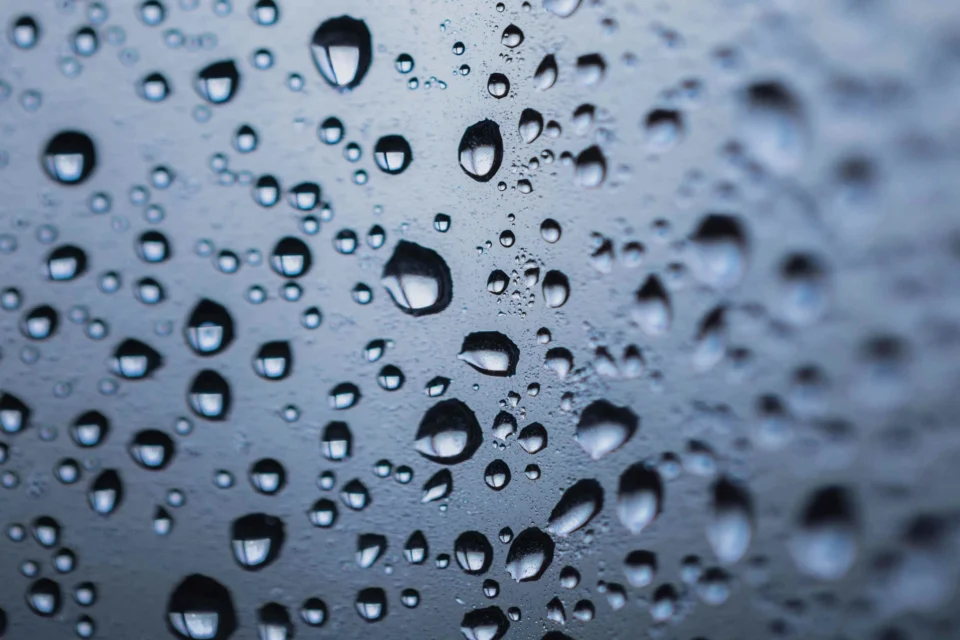
Condensation forms when warm, moist air contacts a cooler surface. As the hot air from your wet clothes flows through the dryer, it cools down when it hits the metal walls and window. If the water vapor doesn’t get properly vented out, it will condense on these cooler internal surfaces.
There are three main culprits of excess condensation in a dryer:
Clogged vents: Restricted airflow prevents humid air from exiting through your vent system. Lint buildup in the ducts, hood, and exterior vent hood is usually the problem.
Improper venting: Vent ducts that are too long or have too many turns and traps prevent moist air from efficiently exiting your dryer. Improperly connected joints can also leak air.
Cool, humid laundry rooms: If the room your dryer is in is humid and chilly, the exterior of the dryer stays cool. This increases condensation, especially if the dryer isn’t properly vented.
Other issues like a broken moisture sensor, leaky gas valve, or thermostat problems can also indirectly cause condensation. But venting problems are by far the most common source].
Dangers of Excess Moisture in Your Dryer
Condensation itself doesn’t harm your dryer. But over time, the damp environment it creates can lead to several problems:
- Mold and mildew: Excess moisture encourages mold growth inside your dryer which contaminates clothes and the air in your home. Mold spreads rapidly and is difficult to eradicate.
- Rust and corrosion: Wet conditions lead to rust and corrosion on the drum and other internal parts. This can eventually cause mechanical failures.
- Lint buildup: Wet lint clinging to the interior can accumulate faster. Excess lint is a fire hazard.
- Musty odors: As moisture lingers in your dryer, it leads to stale, musty odors in your laundry room. These odors transfer to your clean clothes.
- Lingering dampness: Wet spots inside your dryer re-wet your clothes instead of drying them. This leaves clothes feeling damp and stiff.
To avoid these problems, it’s important to address excess condensation in your dryer promptly.
How to Prevent Condensation in a Dryer
Stopping condensation before it starts is the best way to protect your dryer and clothes. Here are tips to prevent humidity buildup:
1. Clean the vent system: Regularly cleaning lint out of the vent system is crucial. Lint traps moisture and clogs airflow. Clean the ducts, hood, and exterior vent yearly, or more often if you dry a lot of loads.
2. Remove lint around the drum: Wet lint accumulates around the drum and the front seal. Wipe these areas frequently to remove buildup.
3. Use rigid vent ducts: Flexible ribbed ducts easily trap lint and moisture. Rigid metal ductwork does a better job venting humid air outside.
4. Minimize turns and extend ducts: Vent ducts should be as short and straight as possible. Keep ducts under 35 feet long with only two 90° turns or less. Long ducts with excess turns trap moisture.
5. Slope the ductwork: Install vent ducts on a downward slope from the dryer to the outside vent. This allows moisture to drain out easily.
6. Make sure the vent hood flaps freely: Accumulated lint can cause vent hood dampers to stick. Ensure it opens easily for unrestricted airflow.
7. Allow spacing around the dryer: If your dryer is crammed into a closet or alcove, allow at least 12 inches of clearance behind it and a few inches on the sides for airflow.
8. Use a drying rack indoors: When hanging clothes to dry inside, use a drying rack instead of draping them over appliances. This prevents moisture transfer.
9. Vent dryers outside: Vent dryers directly to the outdoors if possible. Venting into a garage or attic can increase condensation.
10. Install a dehumidifier: Use a dehumidifier in damp basements or utility rooms to control humidity around the dryer.
How to Fix Condensation in Your Dryer
If you notice condensation has already built up inside your dryer, take these steps to remove moisture and diagnose problems:
Wipe down the drum: Use a microfiber cloth or old towel to soak up lingering droplets inside the drum. Check under the drum rim where moisture collects. Leave the door open to air out the interior between loads.
Clean the vent duct and hood: Remove accumulated lint and make sure dampers open properly so humid air can exit. Consider hiring an HVAC professional if ducts are long or hard to reach.
Check the vent configuration: Ensure ductwork is sloped down, is the proper length, and has minimal turns. Straighten or replace damaged ducts if needed. Proper configuration is key to ventilation.
Make sure outdoor hood is clear: Check that the outdoor vent hood has at least 12 inches of clearance. Nearby shrubs, buildings, or other obstructions can block airflow.
Inspect the weather seal: A broken door seal allows warm, moist air to escape into your laundry room instead of outside. Replace torn or damaged seals.
Test with a tissue: Place a tissue by the door seal and close the door. If the tissue drops, the seal isn’t tight enough to contain warm air. The latch may need adjustment.
Check the dryer vent: Hold a mirror in front of the vent while running a load. It shouldn’t fog up if exhaust air is escaping properly. No fog indicates good airflow.
Look for leaks: Inspect duct joints for gaps or separations that allow air and moisture to leak out. Repair connections with duct tape.
Clean the moisture sensors: Dust or lint on moisture sensor bars can lead to condensation issues. Clean sensors according to your owner’s manual.
Consider replacing thermostats: If the cycling thermostats that control timing are broken, the heating elements stay on too long. This overheats the dryer and creates condensation.
Ask an appliance repair technician: For recurring or severe condensation, there may be internal problems with the dryer that require a repair pro. They have specialized tools to diagnose issues.
Tips for Reducing Existing Dryer Condensation
If you’ve taken all the steps to improve ventilation and fix leaks but are still battling excess moisture, these tips can help:
- Leave the dryer door open for 5-10 minutes after a cycle ends to allow internal airflow and evaporate any condensation.
- For front-load dryers, leave the door slightly ajar between loads. Some models have magnetic catch doors specifically for this purpose.
- Use moisture absorbing beads or packs in the dryer drum to help soak up residual dampness between loads.
- Place moisture absorbing boxes containing silica gel in the dryer to absorb humid air. DIY versions use cat litter or salt.
- Install a small vent fan on the back of the dryer to supplement airflow and pull out additional moisture.
- Add a few dry towels in the dryer during the cool down portion of the cycle to absorb moisture in the drum.
- Use a water vacuum to suck out pools of standing water if they persist inside the drum or cabinet base.
- Run an empty 10-15 minute air fluff cycle after drying wet loads to blow residual moisture out of the cavity.
- When drying only a few items, add a couple dry towels to create airflow and collect moisture.
When to Call a Professional
In most cases, condensation in a dryer is avoidable with proper care and maintenance. But if you’ve thoroughly cleaned and inspected your venting and the issue persists, it’s time to bring in an appliance repair technician. They can pinpoint hard-to-find internal problems like:
- Leaking heating elements or thermostats
- Broken blower assemblies or motors
- Blocked moisture sensor bars
- Damaged drum seals and bearings
- Bad control boards or faulty wiring
Trying to repair these internal parts yourself by watching online tutorials can be dangerous. Appliance repair experts have the skills, diagnostic tools, and product knowledge to safely fix complex issues. Investing in professional service can prevent costly damage to your dryer in the long run.
Keep Your Dryer Condensation-Free
Preventing and fixing condensation in your clothes dryer is important for your appliance’s longevity and efficient performance. By regularly maintaining your vent system, inspecting for leaks, and improving airflow, you can stop excess moisture in its tracks. Implement proactive prevention habits along with these troubleshooting tips when needed to keep your dryer condensation-free for years to come.
Top Tips
First things first – clean out your vents! Lint is enemy number one when it comes to trapped moisture. Use a long duct brush to remove every last bit from the system. While you’re at it, dismantle the outdoor vent hood and clear out any debris so humid air can exit freely.
Making sure your ducts are configured correctly is also critical. Limit the setup to less than 25 feet total, use rigid metal ducts, and minimize tight turns. The straighter the airflow, the better! Slope ducts downward too so moisture drains out instead of sticking around.
Small fixes like cleaning the moisture sensors, ensuring the outdoor vent isn’t obstructed, and replacing worn out door seals do wonders as well. And don’t forget to wipe the cavity and drum regularly to remove pooled water.
Following proper dryer ventilation guidelines upfront prevents so many headaches down the road. But when you need to troubleshoot existing wetness, call in a pro! Their diagnostic wizardry and high-tech tools can pinpoint and fix unseen issues.
Comparison of Fixes
Here’s a handy table to compare common condensation remedies:
| Method | Effort Level | Effectiveness | Cost |
| Clear lint from vent system | Medium | High | Low |
| Optimize vent configuration | High | Very High | Medium |
| Clean moisture sensors | Low | Medium | Low |
| Check/clear outdoor vent | Low | Medium | Low |
| Replace door seal | Low | Medium | Low |
| Wipe drum and cavity | Low | Medium | Low |
| Use moisture absorbing packs | Low | Low | Low |
| Install vent fan | Medium | Medium | Medium |
| Hire appliance pro | Low | High | High |
As you can see, optimizing your vent system provides the biggest bang for your buck when it comes to reducing wetness. Maintenance steps are quick, easy additions too. Calling in the experts is pricey but can solve the most complex residual moisture problems.
In Closing
Having a waterlogged dryer is no fun, for you or your clothes! With some diligent vent cleaning, strategically improving duct airflow, seal repairs, and absorbent accessories, you can stay on top of pesky condensation. But when in doubt, let the pros handle it – your dryer will thank you. Stay dry my friends!
Frequently Asked Questions
Q: How often should I clean my dryer vent system?
A: Clean and inspect the full vent system at least once a year. If you dry many loads weekly, bump it up to every 6 months.
Q: Can I just wipe down moisture instead of fixing it?
A: Wiping puddles helps but doesn’t address the root cause. Make ventilation improvements too for a permanent condensation solution.
Q: Which accessary products help with dampness?
A: Moisture-absorbing packs added to loads or vent fan booster kits installed on the dryer can reduce residual wetness.
Q: How do I know if I need professional help?
A: If you’ve thoroughly cleaned and inspected the vents, ducts, and exterior hood but condensation persists, it likely indicates an internal issue requiring a repair tech.
Q: Does the location of my dryer affect condensation?
A: Yes, placing a dryer in a humid laundry room or poorly ventilated closet increases condensation potential. Proper room ventilation helps.
Q: Can mold buildup make my family sick?
A: Yes, mold spores released into your home’s air from a damp dryer cavity can cause respiratory issues for family members.